Android
Photo manipulation using Kotlin
Sara Gajić
February 12, 2021
5 min read
How to simplify it
Adding photos from a gallery or camera has become one of the most popular features in Android nowadays. However, to me, when I was a junior developer starting a project from scratch, after researching existing articles on the web, the topic has seemed quite tricky. Having this in mind, I wanted to try and simplify this subject as much as it was possible.
A sample project for this tutorial can be found on Github repository: https://github.com/Crystal-Pigeon/photo-manipulation.
So, if you are someone who has come across this project demand by using Kotlin programming language, keep on reading. I hope I succeeded in making it easier for you.
Project Setup
First of all, to enable manipulating with photos, we need to add next two lines in our AndroidManifest.xml file, in order to have access to internal and external storage on our mobile device:
<code class="language-xml"> <uses-permission android:name="android.permission.WRITE_EXTERNAL_STORAGE" /> <uses-permission android:name="android.permission.READ_EXTERNAL_STORAGE" /> </code>
In my project, I have one activity named MainActivity, and one fragment named PhotoFragment. In the fragment’s layout resource file, it is important to have an ImageView that will display the selected image.
Implementation
So now we have an ImageView with id iv_photo (the name is optional), and button with id btn_change_photo, which is important so that we can access it from code.
In our fragment, it is important to have two request codes, based on which we can make a difference whether the user has picked a photo or captured a photo. I’ll explain this in more detail later in the text.
<code class="language-kotlin">
private val PICK_IMAGE = 1
private val TAKE_PHOTO = 2
</code>
To display a dialog that allows us to choose whether we want to pick an existing image from the gallery or we want to take the picture, we need to add a click listener to our Button in the PhotoFragment. Then, we create an array of options that we want to offer to the user – he can choose to pick a photo from the gallery or to take the photo. When the user clicks on one of those two items, the variable holds information about which option is clicked and based on that information, it calls the appropriate method.
<code class="language-kotlin">
btn_change_photo.setOnClickListener {
   val items = arrayOf("Pick photo", "Take photo")
   AlertDialog.Builder(context)
       .setTitle("Pick from:")
       .setItems(items) { dialog: DialogInterface?, which: Int ->
           when (which) {
               0 -> this.pickPhoto(PICK_IMAGE)
               1 -> context?.let { context -> takePhoto(TAKE_PHOTO, context) }
           }
       }
       .show()
}
</code>
If the user selects the Pick photo option, method pickPhoto is called and PICK_IMAGE request code is being sent as an argument.
<code class="language-kotlin">
private fun pickPhoto(code: Int) {
   Intent(
       Intent.ACTION_PICK,
       MediaStore.Images.Media.EXTERNAL_CONTENT_URI
   ).apply {
       startActivityForResult(Intent.createChooser(this, getString(R.string.pick_image)), code)
   }
}
</code>
In pickPhoto method, we work with Intents. Intents are the way components communicate with each other. It opens the Gallery app and allows the user to pick a photo, after which we create Intent with action ACTION_PICK. Then we call startActivityForResult, in which we pass created intent and request code. This will allow executing the rest of our code once the photo is picked from the gallery.
After the user is done with picking a photo from the gallery, the method onActivityResult is called in our fragment.
<code class="language-kotlin">
override fun onActivityResult(requestCode: Int, resultCode: Int, data: Intent?) {
   if (requestCode == PICK_IMAGE && resultCode == Activity.RESULT_OK) {
       if (data != null) {
           val imageUri = data.data
           if (imageUri != null) {
               cropRequest(imageUri)
           }
       }
super.onActivityResult(requestCode, resultCode, data)
   }
</code>
This is where our previously created PICK_IMAGE request code comes to rescue. Here we check if the user has picked an image from the gallery. We can access image uri by calling data.data field, and after that, we call cropRequest method, in which we pass image uri.
If you don’t want to implement cropping, this is where you can set picked image to ImageView.
In order to cropping images work as expected, first we need to add dependency to build.gradle (app):
<code class="language-kotlin">
//Image cropper library
implementation 'com.theartofdev.edmodo:android-image-cropper:2.7.0'
</code>
… and CropImageActivity to our AndroidManifest.xml:
<code class="language-xml"> <activity android:name="com.theartofdev.edmodo.cropper.CropImageActivity" android:theme="@style/Base.Theme.AppCompat"> </code>
The reason why i chose to use this Image cropper library is to avoid problem with automatic photo rotation which occurs on certain Android devices.
In ProfileSettingsFragment, we must create a cropRequest method which receives image uri.
<code class="language-kotlin">
private fun cropRequest(uri: Uri) {
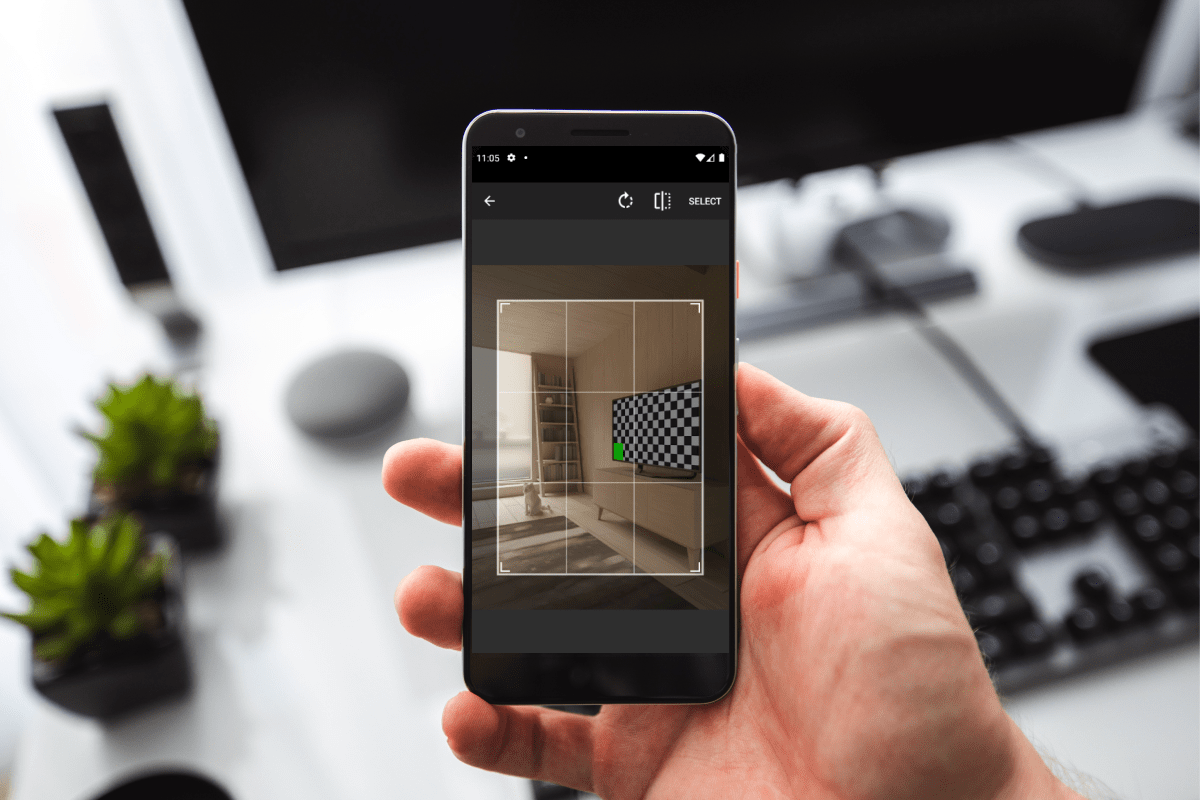
CropImage.activity(uri).setCropMenuCropButtonTitle("Select")
.setGuidelines(CropImageView.Guidelines.ON)
.setMultiTouchEnabled(true)
.start(activity as MainActivity)
}
</code>
CropImageActivity allows users to crop images as they want. After the user finishes cropping, MainActivity is being called, which is why we need the onActivityResult method in MainActivity also – to handle the cropped image. Here, we check if the user is finished with cropping the image, and then we process the image. To display the cropped image in PhotoFragment, we call the method from fragment and pass selected images uri.
<code class="language-kotlin">
override fun onActivityResult(requestCode: Int, resultCode: Int, data: Intent?) {
   if (requestCode == CropImage.CROP_IMAGE_ACTIVITY_REQUEST_CODE) {
       val result = CropImage.getActivityResult(data)
       val inputStream: InputStream
       if (resultCode == Activity.RESULT_OK) {
           try {
               contentResolver.openInputStream(result.uri)?.let {
                   inputStream = it
                   result.uri?.let {
                       val fragment =
                           nav_host_fragment.childFragmentManager.fragments[0] as PhotoFragment
                       fragment.addPhoto(it)
                   }
               }
           } catch (e: IOException) {
               e.printStackTrace()
               Toast.makeText(this, R.string.unable_to_open_image, Toast.LENGTH_SHORT).show()
           } catch (ex: Exception) {
               ex.printStackTrace()
           }
       }
   }
   super.onActivityResult(requestCode, resultCode, data)
}
</code>
To display uri inside ImageView, we can use Glide library, which we should add in build.gradle (app)
<code class="language-kotlin">
//Glide
implementation 'com.github.bumptech.glide:glide:4.11.0'
annotationProcessor 'com.github.bumptech.glide:compiler:4.11.0'
</code>
Method for displaying photo in ImageView looks like follows:
<code class="language-kotlin">
fun addPhoto(uri: Uri) {
   context?.let {
       Glide.with(it)
           .load(uri).circleCrop()
           .into(iv_photo)
   }
}
</code>
That is the full process of picking an image from the gallery explained. But, what if the user wants to take a photo using the camera? Let’s go back to our dialog in which the user can choose to pick a photo from the gallery or capture one using a camera. If he chooses a second option, the method takePhoto is being called, and we pass our request code and context.
<code class="language-kotlin">
private var currentPhotoPath: String? = null
private fun takePhoto(code: Int, context: Context) {
   Intent(MediaStore.ACTION_IMAGE_CAPTURE).also { takePictureIntent ->
       takePictureIntent.resolveActivity(context.packageManager)?.also {
           val photoFile: File? = try {
               createImageFile(context)
           } catch (ex: IOException) {
               null
           }
           photoFile?.also {
               val photoURI: Uri = FileProvider.getUriForFile(
                   context,
                   "com.crystalpigeon.photo_manipulation_app.fileprovider",
                   it
               )
               takePictureIntent.putExtra(MediaStore.EXTRA_OUTPUT, photoURI)
               startActivityForResult(takePictureIntent, code)
           }
       }
   }
}

private fun createImageFile(context: Context): File {
   val timeStamp: String = SimpleDateFormat("yyyyMMdd_HHmmss").format(Date())
   val storageDir: File? = context.getExternalFilesDir(Environment.DIRECTORY_PICTURES)
   return File.createTempFile(
       "JPEG_${timeStamp}_",
       ".jpg",
       storageDir
   ).apply {
       currentPhotoPath = absolutePath
   }
}
</code>
In the takePhoto method, we create an Intent that will open the Camera application for taking the photo. Once a user takes the photo, onActivityResult method in our fragment is being called. But, before that, when the user takes the photo, for that photo we need to create file, in order to have access to the original photo, and not just the thumbnail. For this to work, we need to add file_paths.xml file in res -> xml folder, in which we specify root path and external path for our file.
File_paths.xml:
<code class="language-xml"> <xml version="1.0" encoding="utf-8"?> <paths> <root-path name="root" path="." /> <external-files-path name="my_images" path="Android/data/com.crystalpigeon.photo_manipulation_app/files/Pictures" /> </paths> </code>
It is important to notice that the path variable should have your application’s package name.
Also, we must add the next few lines of code to AndroidManifest.xml. But keep in mind that here you also have to specify your package name:
<code class="language-xml"> <provider android:name="androidx.core.content.FileProvider" android:authorities="com.crystalpigeon.photo_manipulation_app.fileprovider" android:exported="false" android:grantUriPermissions="true"> <meta-data android:name="android.support.FILE_PROVIDER_PATHS" android:resource="@xml/file_paths"/> </provider> </code>
Back to our onActivityResult method in PhotoFragment. Here we only need to add one more condition in order to proceed with the photo taken using the camera. While the file was being created in the createImageFile method, we saved absolutePath in our variable currentPhotoPath. Here, we just check if that currentPhotoPath contains some value, and if it does, we create File using that path, we create uri from file and call the cropRequest method which we pass created uri. This is our onActivityResult method now:
<code class="language-kotlin">
override fun onActivityResult(requestCode: Int, resultCode: Int, data: Intent?) {
   if (requestCode == PICK_IMAGE && resultCode == Activity.RESULT_OK) {
       if (data != null) {
           val imageUri = data.data
           if (imageUri != null) {
               cropRequest(imageUri)
           }
       }
   } else if (requestCode == TAKE_PHOTO && resultCode == Activity.RESULT_OK) {
       if (currentPhotoPath != null) {
           val myFile = File(currentPhotoPath as String)
           val imgUri = Uri.fromFile(myFile)
           cropRequest(imgUri)
       }
   }
   super.onActivityResult(requestCode, resultCode, data)
}
</code>
Everything else remains the same – the cropRequest method calls CropImage activity. After the user finishes cropping, the onActivityResult method in MainActivity is called, and there we process the cropped image and send it back to PhotoFragment.
And that’s it. I hope someone finds this article useful for working with images in future Android projects.
Care to share?
Read next

Business
Fit for the Future: Our Global Identity
When did you realize it was time for changes in your life? Those moments when you just knew it was time to shake things up to make your future align with the vision you’ve always had? That’s what we’re diving into in this blog. Four years ago, Skenit was born out of a need to […]

Uncategorized
Google I/O 2024 for Flutter Developers
Mobile app development is buzzing with excitement after the big announcements at Google I/O 2024. The latest updates for Flutter and Dart are here, bringing new features and improvements that promise to make multi-platform app development even better. Flutter 3.22: What’s New? The newest version, Flutter 3.22, brings exciting enhancements. Flutter continues to be a […]